Embarking on a DIY dream catcher projection can be a rewarding and originative experience. Dream catchers are not only beautiful decorative pieces but also hold cultural significance, specially among Native American tribes. They are conceive to protect sleepers from negative dreams while grant confident dreams to pass through. Creating your own DIY dream backstop allows you to individualize this meaningful artifact and add a unequalled touch to your space.
Understanding the Symbolism of Dream Catchers
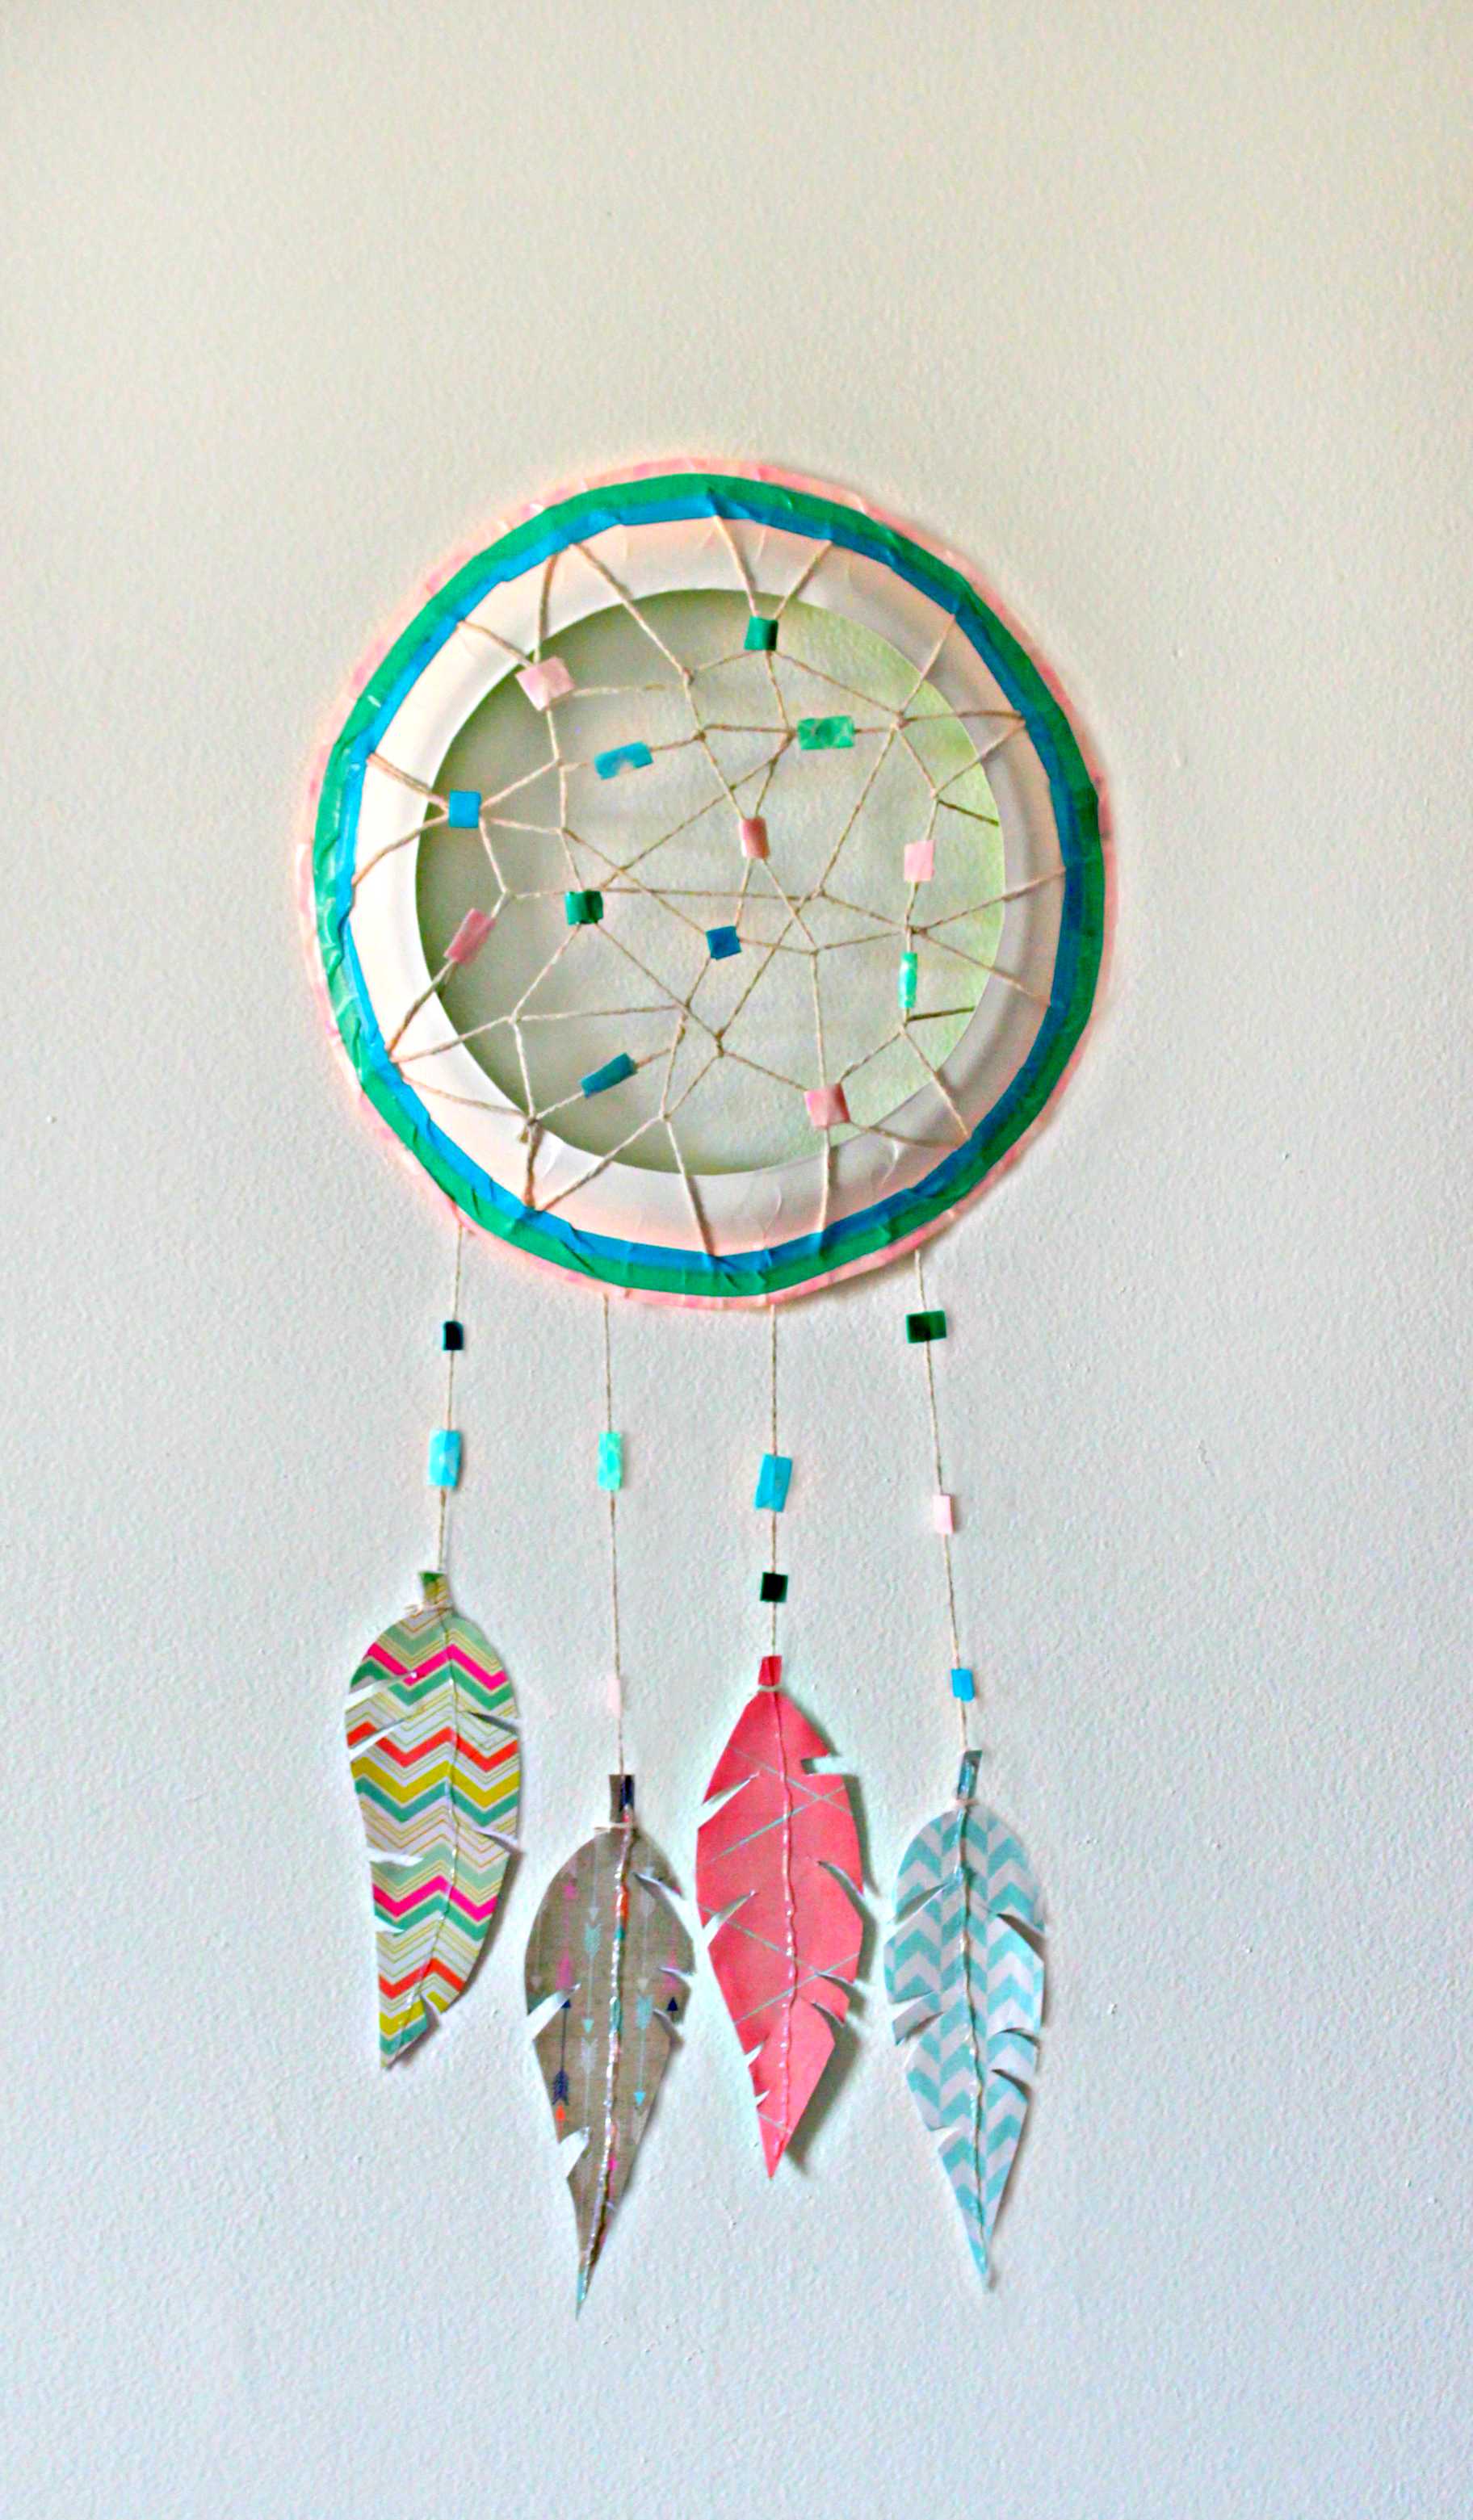
Before diving into the crafting process, it's essential to read the symbolism behind dream catchers. Traditionally, dream catchers are made from a willow hoop, oftentimes embellish with feathers, beads, and other natural materials. The web like design in the centre is meant to catch bad dreams in its threads, while the feathers allow good dreams to slip through and glide down to the slumberer.
Gathering Materials for Your DIY Dream Catcher
To make your own DIY dream backstop, you'll demand a few canonical materials. Here's a list to get you started:
- A wooden or metallic hoop (you can also use a bendable branch)
- Suede lace or draw
- Feathers (natural or artificial)
- Beads (various sizes and colors)
- Scissors
- Pliers (if using a metal hoop)
- Optional: additional ornamental elements like shells, stones, or charms
Step by Step Guide to Crafting Your DIY Dream Catcher
Follow these steps to create your own DIY dream backstop:
Step 1: Prepare the Hoop
Start by ready your hoop. If you're using a pliable branch, shape it into a circle and secure the ends with thread or wire. For a metallic hoop, you can use pliers to adjust the size if necessary. Wrap the hoop with suede lace or string, fix it tightly with a knot at the bottom.
Step 2: Create the Web
To create the web, you'll require to wrap the suede lace around the hoop and weave it in and out to form a spiderweb like pattern. Here s a simple method:
- Start by tying the suede lace to the hoop at the top.
- Wrap the lace around the hoop and convey it to the center, creating a loop.
- Wrap the lace around the hoop again, creating another loop, and bring it back to the centerfield.
- Continue this process, wrapping the lace around the hoop and wreak it back to the centre, creating a series of loops.
- As you create more loops, weave the lace in and out of the late loops to form the web pattern.
- Once you reach the center, tie a knot to secure the web.
Note: Be patient with this step. Creating a symmetric web can occupy time, but the result will be worth it.
Step 3: Add Feathers
Feathers are an essential part of the dream catcher, as they symbolise the full dreams that slip through the web. Attach feathers to the bottom of the hoop using suede lace or string. You can use different sizes and colors of feathers to add variety and personalize your DIY dream backstop.
Step 4: Decorate with Beads
Beads add a ornamental touch and can be used to represent diverse elements, such as the four directions or the four seasons. String beads onto the suede lace or draw and attach them to the hoop and feathers. You can also weave beads into the web for bestow detail.
Step 5: Add Additional Decorative Elements
If you want to add more personal touches, consider comprise additional decorative elements like shells, stones, or charms. These can be attached to the hoop, feathers, or web using suede lace or string. Be creative and let your imagination guide you.
Customizing Your DIY Dream Catcher
One of the best parts about creating a DIY dream catcher is the power to customize it to your liking. Here are some ideas to make your dream catcher unique:
- Choose a colour scheme that matches your decor or personal style.
- Use different types of feathers, such as turkey, owl, or peacock feathers.
- Experiment with assorted bead shapes, sizes, and colors.
- Add personal charms or symbols that hold special meaning for you.
- Create multiple dream catchers in different sizes and styles for various rooms in your home.
Displaying Your DIY Dream Catcher
Once your DIY dream catcher is complete, it's time to display it. Here are some tips for showcasing your conception:
- Hang it above your bed to protect you from bad dreams.
- Place it in a window to catch the sunlight and make a beautiful display.
- Use it as a cosmetic element in your survive room or office.
- Give it as a gift to a friend or family member who appreciates handmade items.
Caring for Your DIY Dream Catcher
To insure your DIY dream catcher lasts for years to get, follow these care tips:
- Keep it away from unmediated sunlight to prevent melt.
- Dust it regularly with a soft brush or cloth.
- Store it in a cool, dry order when not in use.
- Avoid exposing it to moisture or humidity.
Creating a DIY dream backstop is a fulfilling projection that allows you to express your creativity while honoring a meaningful tradition. Whether you're making one for yourself or as a gift, the procedure of crafting a dream backstop is both gratifying and rewarding. The symbolism behind dream catchers adds an extra stratum of implication, making them more than just ornamental items they become personal talismans that protect and inspire.
By postdate the steps outlined above, you can create a beautiful and unique DIY dream catcher that reflects your personal style and adds a touch of witching to your space. The operation of gather materials, craft the web, and bring decorative elements is not only therapeutic but also allows you to connect with a rich ethnical heritage. Whether you choose to hang it above your bed, display it in a window, or give it as a gift, your DIY dream backstop will be a cherished add-on to any environment.
Incorporating a DIY dream catcher into your home decor is a wonderful way to bring a sense of tranquility and protection. The intricate design and personal touches get each dream catcher a one of a kind piece that tells a story. As you create your own DIY dream backstop, remember the ethnic significance and the intention behind it. This aware approach will enhance the overall experience and make your dream catcher even more special.
Embarking on a DIY dream backstop labor is an opportunity to explore your creativity, connect with custom, and make a meaningful piece of art. Whether you re a season crafter or a beginner, the process of do a dream backstop is both gratifying and honor. The final product will not only be a beautiful improver to your space but also a symbol of protection and positive dreams.
Related Terms:
- easy dream catcher craft
- diy dream backstop kit
- gratuitous printable dream backstop instructions
- diy dream backstop ideas
- dream backstop patterns diy
- diy dream backstop kids